How to Install SQL Server 2017
We’ll install SQL Server 2017 in this guide.
Follow these steps to install Microsoft SQL Server 2017:
- Visit Microsoft’s official SQL Server 2017 download page.
- Select the edition you want to download. For free use, the Express edition is a good choice.

- Click Download now below your selected edition. This will download the installation wizard.
- The wizard will prompt you to select an installation type. We recommend a Custom installation, as this allows you to choose what you want to install from the extended tools.

- On the next page, select a directory for the installation folder. You can leave this as the default or select a custom installation directory.
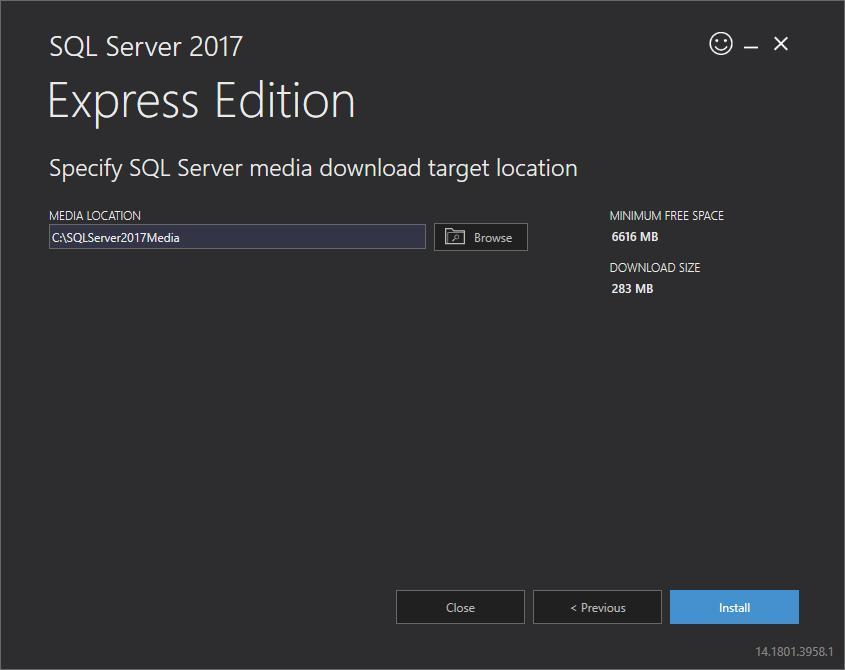
- Click the Install button to download the installation packages.

- After the installation package is downloaded, select New SQL Server stand-alone installation, as shown below.

- On the next screen, you’ll see a setup process. Once it completes, click Next.

- You should now see the license terms. Review these if you’d like, and click Accept.

- You’ll then be taken to the Feature Selection screen, where you can choose custom SQL Server 2017 features you would like to install. For example, you can choose to install machine learning services for R and Python. However for Evopos all that is required is Database Engine Services, SQL server replication, Full-Text and Semantic Extractions for Search, Client Tools Connectivity, Client Tools Backwards Compatibility, Client Tools SDK and SQL Client Connectivity.

- Click the Next button. You’ll be taken to a screen where you may specify a Named instance for your installation. Basically, in SQL Server, you can have more than one instance (a collection of databases run by a single service) of the server. We recommend using Evopos as your named instance. You can also go with the Default instance name.

- Click Next. You’ll be taken to the Server Configuration screen. You can leave these settings untouched.

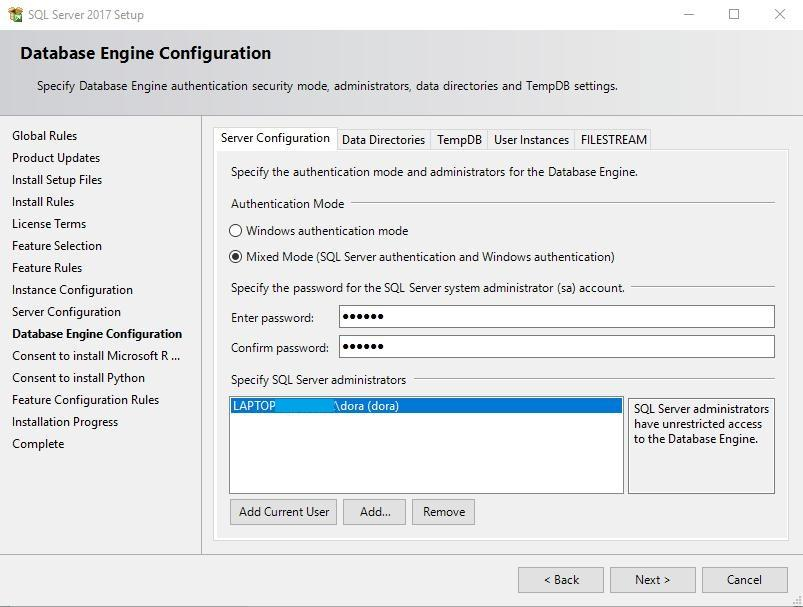
- Click Next. You’ll now see the Database Engine Configuration settings. Evopos uses SQL Server authentication, so you need to check Mixed Mode. Mixed Mode allows you connect to SQL Server using both your Windows account password and also a custom password you can set for SQL Server admin privileges.
- Click Next to see a summary of the installation process.

- Once the installation is complete, click Close to finish.
You’re done! SQL Server is now ready to run on your system.
How to install SQL Server Management Studio
The SQL Server Management Studio is a GUI program that allows you to manage your databases quickly and easily, create users, set database permissions, make backups, and much more, while not needed it’s recommended to have this ready in case it’s needed for any future SQL troubleshooting
You can install this tool separately by visiting Microsoft’s download page and getting the latest binary for the installation wizard. As of this writing, the latest version is 17.5.
Simply run through the steps and click the Install button at the end.


After the installation, the SQL Server Management Studio is ready to launch:

First, you’ll see the Connect to Server window. Select the name of the server you’d like to connect to, and enter the login and password for it. Click the Connect button.

Congratulations!
That’s it! You’re done.
Connecting other machines to the SQL server
If you want to connect other machines to the SQL database you’ll need to set up allow firewall rules for 2 .exe files. Depending on your configuration files paths may vary.
C:\Program Files (x86)\Microsoft SQL Server\140\Shared\sqlbrowser.exe
C:\Program Files\Microsoft SQL Server\MSSQL14.EVOPOS\MSSQL\Binn\sqlservr.exe
Adding Databases to the Instance
This done be done through Evopos or Management Studio
In Evopos get to the Welcome to Evopos Screen. If you are launching into Evopos you can go to Settings -> Change Database to reset Evopos.
Fill out the connection details and in Database Name put the name of the new database you want to create.
Click New Database, Evopos will then create the database and ask what backup you want restore.
In Management Studio
Connect to the Database
Right Click on Databases and Click New Database
Put in a database name and then click OK.